
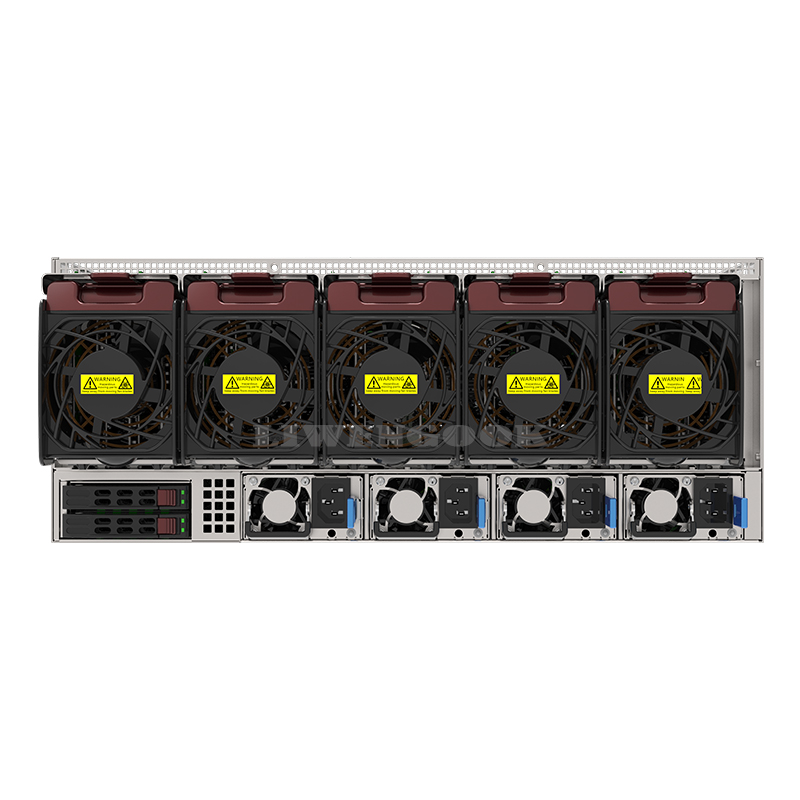
**FAQ 1: How do I install a GPU server fan properly?**
**Answer:**
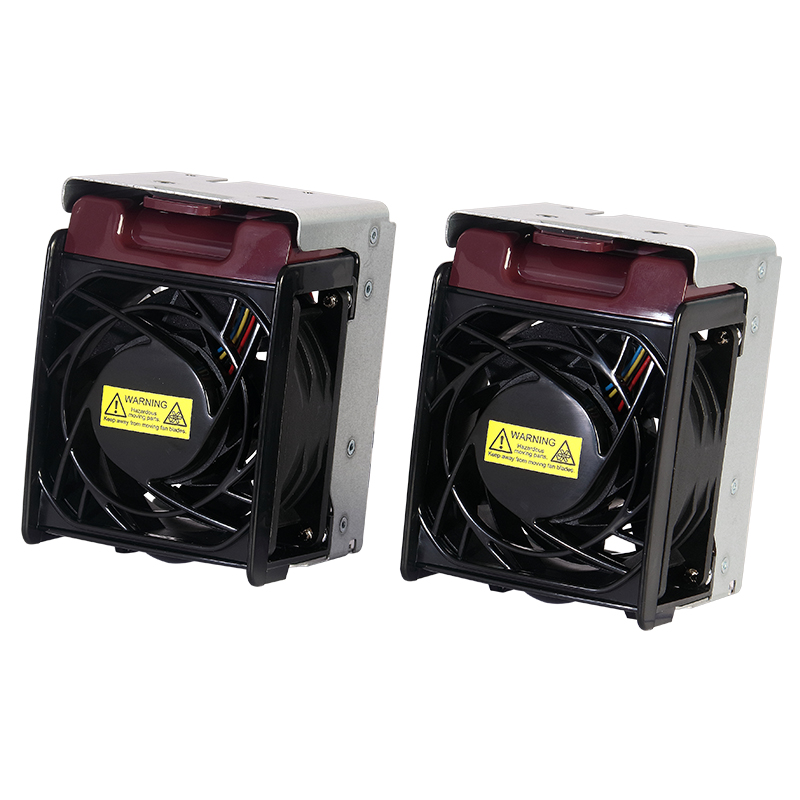
Alright, first things first—make sure the server is turned off and unplugged to play it safe. Then, gently remove the case to get a clear shot at the GPU area. Look around for the mounting points, which are usually pre-drilled holes near the GPU. Once you’ve found them, line up the fan’s screw holes with those points, and screw it in securely—use the screws or any fasteners that came with the fan. Don’t forget to connect the fan’s power cable to the right header on your motherboard. Before you close everything up, give it a quick check—make sure it’s stable and everything’s snug. Then, pop the case back on, plug it in, and you’re good to go!
**FAQ 2: What tools do I need to install a GPU server fan?**
Honestly, the main tool you’ll want is a Phillips-head screwdriver—it makes securing the fan easy. Also, double-check that you have any screws or brackets that might be needed; these usually come with the fan or the case. Oh, and a tip—using anti-static gloves or wrist straps is a good idea to avoid static shocks that could mess up the components.
**FAQ 3: How can I make sure my GPU server fan is working right after I install it?**
Once you’ve put everything back together and turned your server on, hop into the BIOS during startup to see if the system detects the fan. Alternatively, when the server is up and running, you can use monitoring software to check the fan’s RPM—basically, how fast it’s spinning—to make sure it’s within normal range. And honestly, give it a quick visual check—see if it’s spinning smoothly without any weird noises or vibrations. That’s usually a good sign it’s working fine.
Post time: Oct-20-2025